Handle Registrations and Check-in with Event Ticketing
Set up access for events of any size. Build flexible ticket types, automate registration, and manage on-site entrance flows.
Trusted by 179.000+ Event Organisers


Issue Tickets to Get Attendees Through Your Doors
Stop worrying about ticketing errors or incomplete setups. Configure event tickets, simplify registration, and provide a great check-in experience.
Discover Your Event Planning Toolkit
Learn how ticketing integrates with other planning features within our event software.

Moodboards
Capture ideas, curate inspiration, and explore vendors to shape your event's vision, theme, and personality.
Checklists
Keep track of every planning detail. Create and assign tasks to your team members, and never miss a deadline.
Budgets
Manage your event budget and expenses. Get a complete overview of fund allocation and track your spending.
Call Sheets
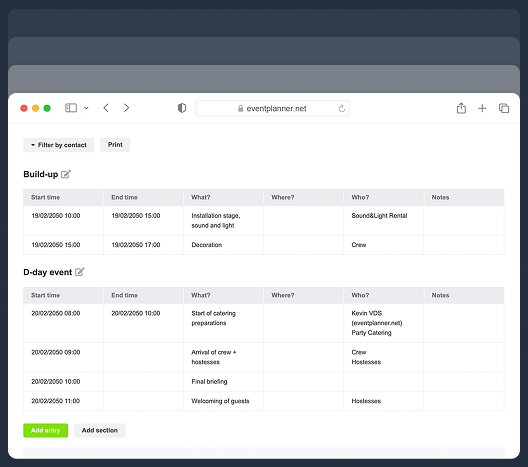
Create a task list for pre-event and event days. Organise your team so everyone knows their responsibilities.
Ticketing Setup Options
Configure foundational event settings, details, and layout to enable accurate ticket creation.
Ticket Type Management
Design and configure different ticket options to match event requirements and capacity.
Define Ticket Settings
Set up the fundamental rules and parameters for your event tickets.
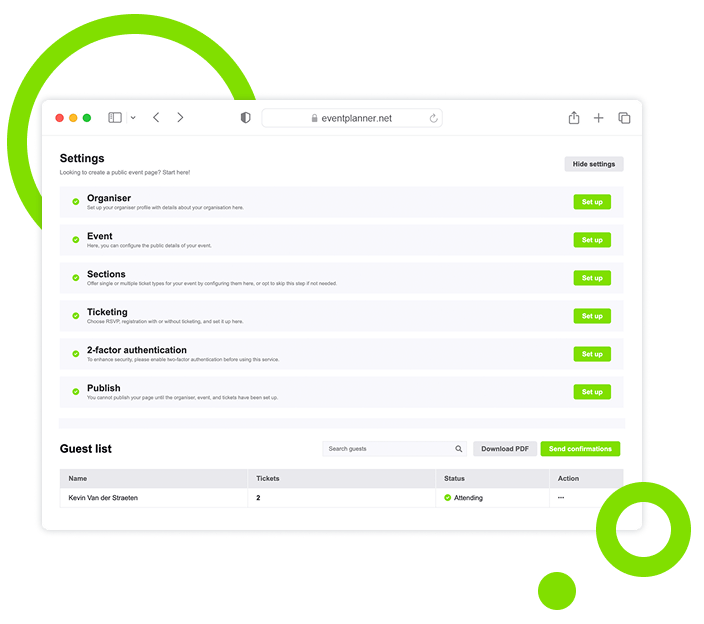
Choose the RSVP option and upload your guest list.
Select other ticketing options, such as free or paid.
Set registration deadlines to control availability.
Limit guest capacity to match your venue size.
Create Ticket Categories
Build different ticket types to match your event configuration and cost structure.
Name and describe tickets for easy attendee selection.
Set quantity limits to manage availability per category.
Define purchase limits to control individual orders.
Link tickets to event sections for precise distribution.
Customise Registration Forms
Build registration forms to collect necessary attendee information and preferences.
Add contact fields to gather attendee details.
Create custom questions for event-specific insights.
Capture attendee preferences for better planning.
Include privacy checkboxes to meet compliance needs.
Registration Experience
Guide attendees through a simple ticket purchase and event registration process.
Design Ticket Selection
Configure ticket categories, time slots, and quantities for attendees to choose easily.
Allow attendees to view all ticket categories.
Enable attendees to pick preferred time slots.
Let attendees select ticket quantities.
Provide a ticket summary adding the event details.
Capture Registration Information
Collect required registration details and dietary or special preferences from your attendees.
Enable attendees to fill in their contact details.
Let attendees answer event-specific questions.
Encourage attendees to specify their preferences.
Give attendees a way to agree to terms and conditions
Send Attendance Confirmation
Provide your attendees immediate confirmation and access to their event tickets.
Enable attendees to instantly download digital tickets.
Let attendees save QR codes for fast entry.
Allow attendees to access event details anytime.
Give attendees the option to share their tickets.
Attendance Management
Oversee and manage attendance information before and during the event.
Monitor Registration Status
Keep track of ticket sales and registration progress in real-time.
View current tickets to gauge remaining availability.
Track registration to measure attendee interest.
Monitor numbers to plan event logistics accurately.
Check capacity limits to avoid overbooking.
Manage Guest Information
Handle attendee data and make necessary updates or changes.
Edit attendee details to keep information accurate.
Resend ticket confirmations to ensure delivery.
Update registration details when changes are needed.
Process change requests for your attendees.
Handle Event Check-in
Speed up event entry with quick digital ticket scanning and verification using our app.
Validate attendee QR codes instantly.
Process offline check-ins in case of internet issues.
Track entry statistics to monitor attendee flow.
Sync check-ins across multiple entry points.
Data Security and Permissions
Set up security measures to protect attendee data and control event access.
Configure Privacy Settings
Set up data protection parameters and access levels for your event.
Choose between public or private access.
Set up password protection to secure sensitive data.
Configure permissions to limit unauthorised access.
Enable privacy controls to protect attendee data.
Activate Two-Factor Authentication
Implement additional security layers to protect sensitive attendee information.
Set up 2FA authentication apps for secure login.
Enable SMS verification for added attendee protection.
Manage security preferences to control access.
Restrict user access levels for improved data safety.
Manage Team Permissions
Control who can access and manage different aspects of the event ticketing.
Assign team member roles for clear task handling.
Set editing permissions to maintain data integrity.
Grant or limit check-in scanning permissions.
Grant temporary access for event-specific roles.
Event Ticketing, a Tool for Registration and Check-in
Set the foundation for a well-organised event with ticketing that works for everyone. Simplify registrations and manage attendance for a great experience.

One Dashboard, Designed for Simplicity
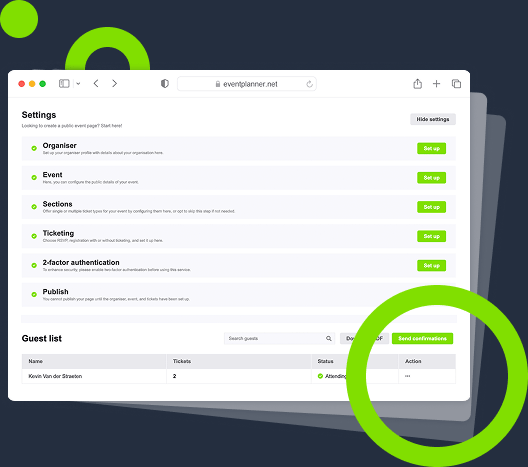
Manage your registration data, attendee updates, and check-in processes from one central hub.
One Workflow, Designed for Efficiency
Complete your entire ticketing setup in minutes, from customised forms to automated confirmations.
One Journey, Designed for Easy Attendance
Make every step work effortlessly. Design a stress-free path for your attendees from registration to entry.
One Data Source, Designed for Insight
Take the guesswork out of registration trends and numbers. Use attendance data for real-time decisions.
Frequently Asked Questions (FAQ)
Can I send RSVP invitations to my list of guests?
Yes, you can import your guest list. The system will automatically send personalised invitation emails for every guest. You can also manually add or remove guests after the initial upload.
What happens if an attendee loses their ticket?
Attendees can always access their tickets through their confirmation email or by logging into the event portal (if they created an account, which is optional upon registration). As an organiser, you can also resend ticket confirmations if needed.
Can I scan tickets without an internet connection?
Yes. Although it is best to have an internet connection available on all smartphones used to scan tickets, we offer an innovative offline mode in case the connection drops. You can download your guest list before the event and use the app offline for check-in. The system will automatically sync all check-in data once you're back online. Keep in mind that in offline mode, devices cannot sync, meaning the same ticket could be scanned and allowed at multiple entry points. This is prevented when working online.
What devices are compatible with the scanning app?
The app works on both iOS and Android devices, with support for smartphones and tablets. You can download our app from the Apple App Store or Google Play Store.
What if attendees have issues accessing their tickets?
Attendees can log into the event portal (if they created an account, which is optional upon registration) to retrieve tickets or contact support directly. Organisers can also resend tickets instantly.
Can I export attendee data after the event?
Yes. You can export attendee data, including check-in stats, in CSV format for post-event analysis.
Free forever
Perfect for professionals and smaller event planning teams managing one event at a time.
Per seat/month
Great for professionals and larger teams managing multiple events at a time.
Starting at
Perfect for organisations requiring custom solutions, advanced security, and dedicated support
Event Planning Software That Grows With You
Select a plan that matches your ambitions, whether you're managing a single event or running multiple projects simultaneously.

